How To Use Analog Gear With Ableton Live
Introduction
Analog gear and traditional recording methods can infuse your music with a rich and distinctive character that's highly sought after.
However, bringing this analog sound into your digital workflow can sometimes be a bit of a challenge.
This article will show you how to seamlessly integrate your analog gear with Ableton Live, with step-by-step instructions, recommended equipment, expert tips and tricks, and best practices.
Think of it this way: if you've ever connected a microphone to your audio interface to record audio into Ableton Live, then you already have the basic knowledge.
Just as the microphone is plugged into your audio interface to capture your voice, analog gear works on the same principle.
The only difference is that instead of capturing your voice, the sound being recorded is generated by an external synthesizer or other analog equipment.
So, without further ado, let's get started.
Table Of Contents
- Introduction
- Equipment Needed
- Connecting an External Synthesizer with Ableton
- Step 1: Connect your MIDI
- Step 2: Connect your Audio
- Step 3: Check for USB Connectivity
- Step 4: Configure Ableton Live's Audio Preferences
- Step 5: Configure Ableton Live's MIDI Preferences
- Step 6: Use the External Instrument Device (recommended).
- Step 7: If you don't have the External Instrument device (Optional)
- Using External Audio Effects with Ableton Live
- Tips and Tricks
- Employ the use of analog summing for a more analog sound.
- Use analog gear as a parallel processor
- Run your tracks through analog gear before recording
- What are the benefits of using analog gear with Ableton Live?
- Recommended gear to start with with a limited budget.
- Some good options for affordable analog synthesizers include:
- Analog sound effects devices that can be used with Ableton Live:
- Affordable and effective analog compressors and EQs that can be used with Ableton Live:
- Conclusion
Equipment Needed
Let's talk about the equipment you'll need to get started.
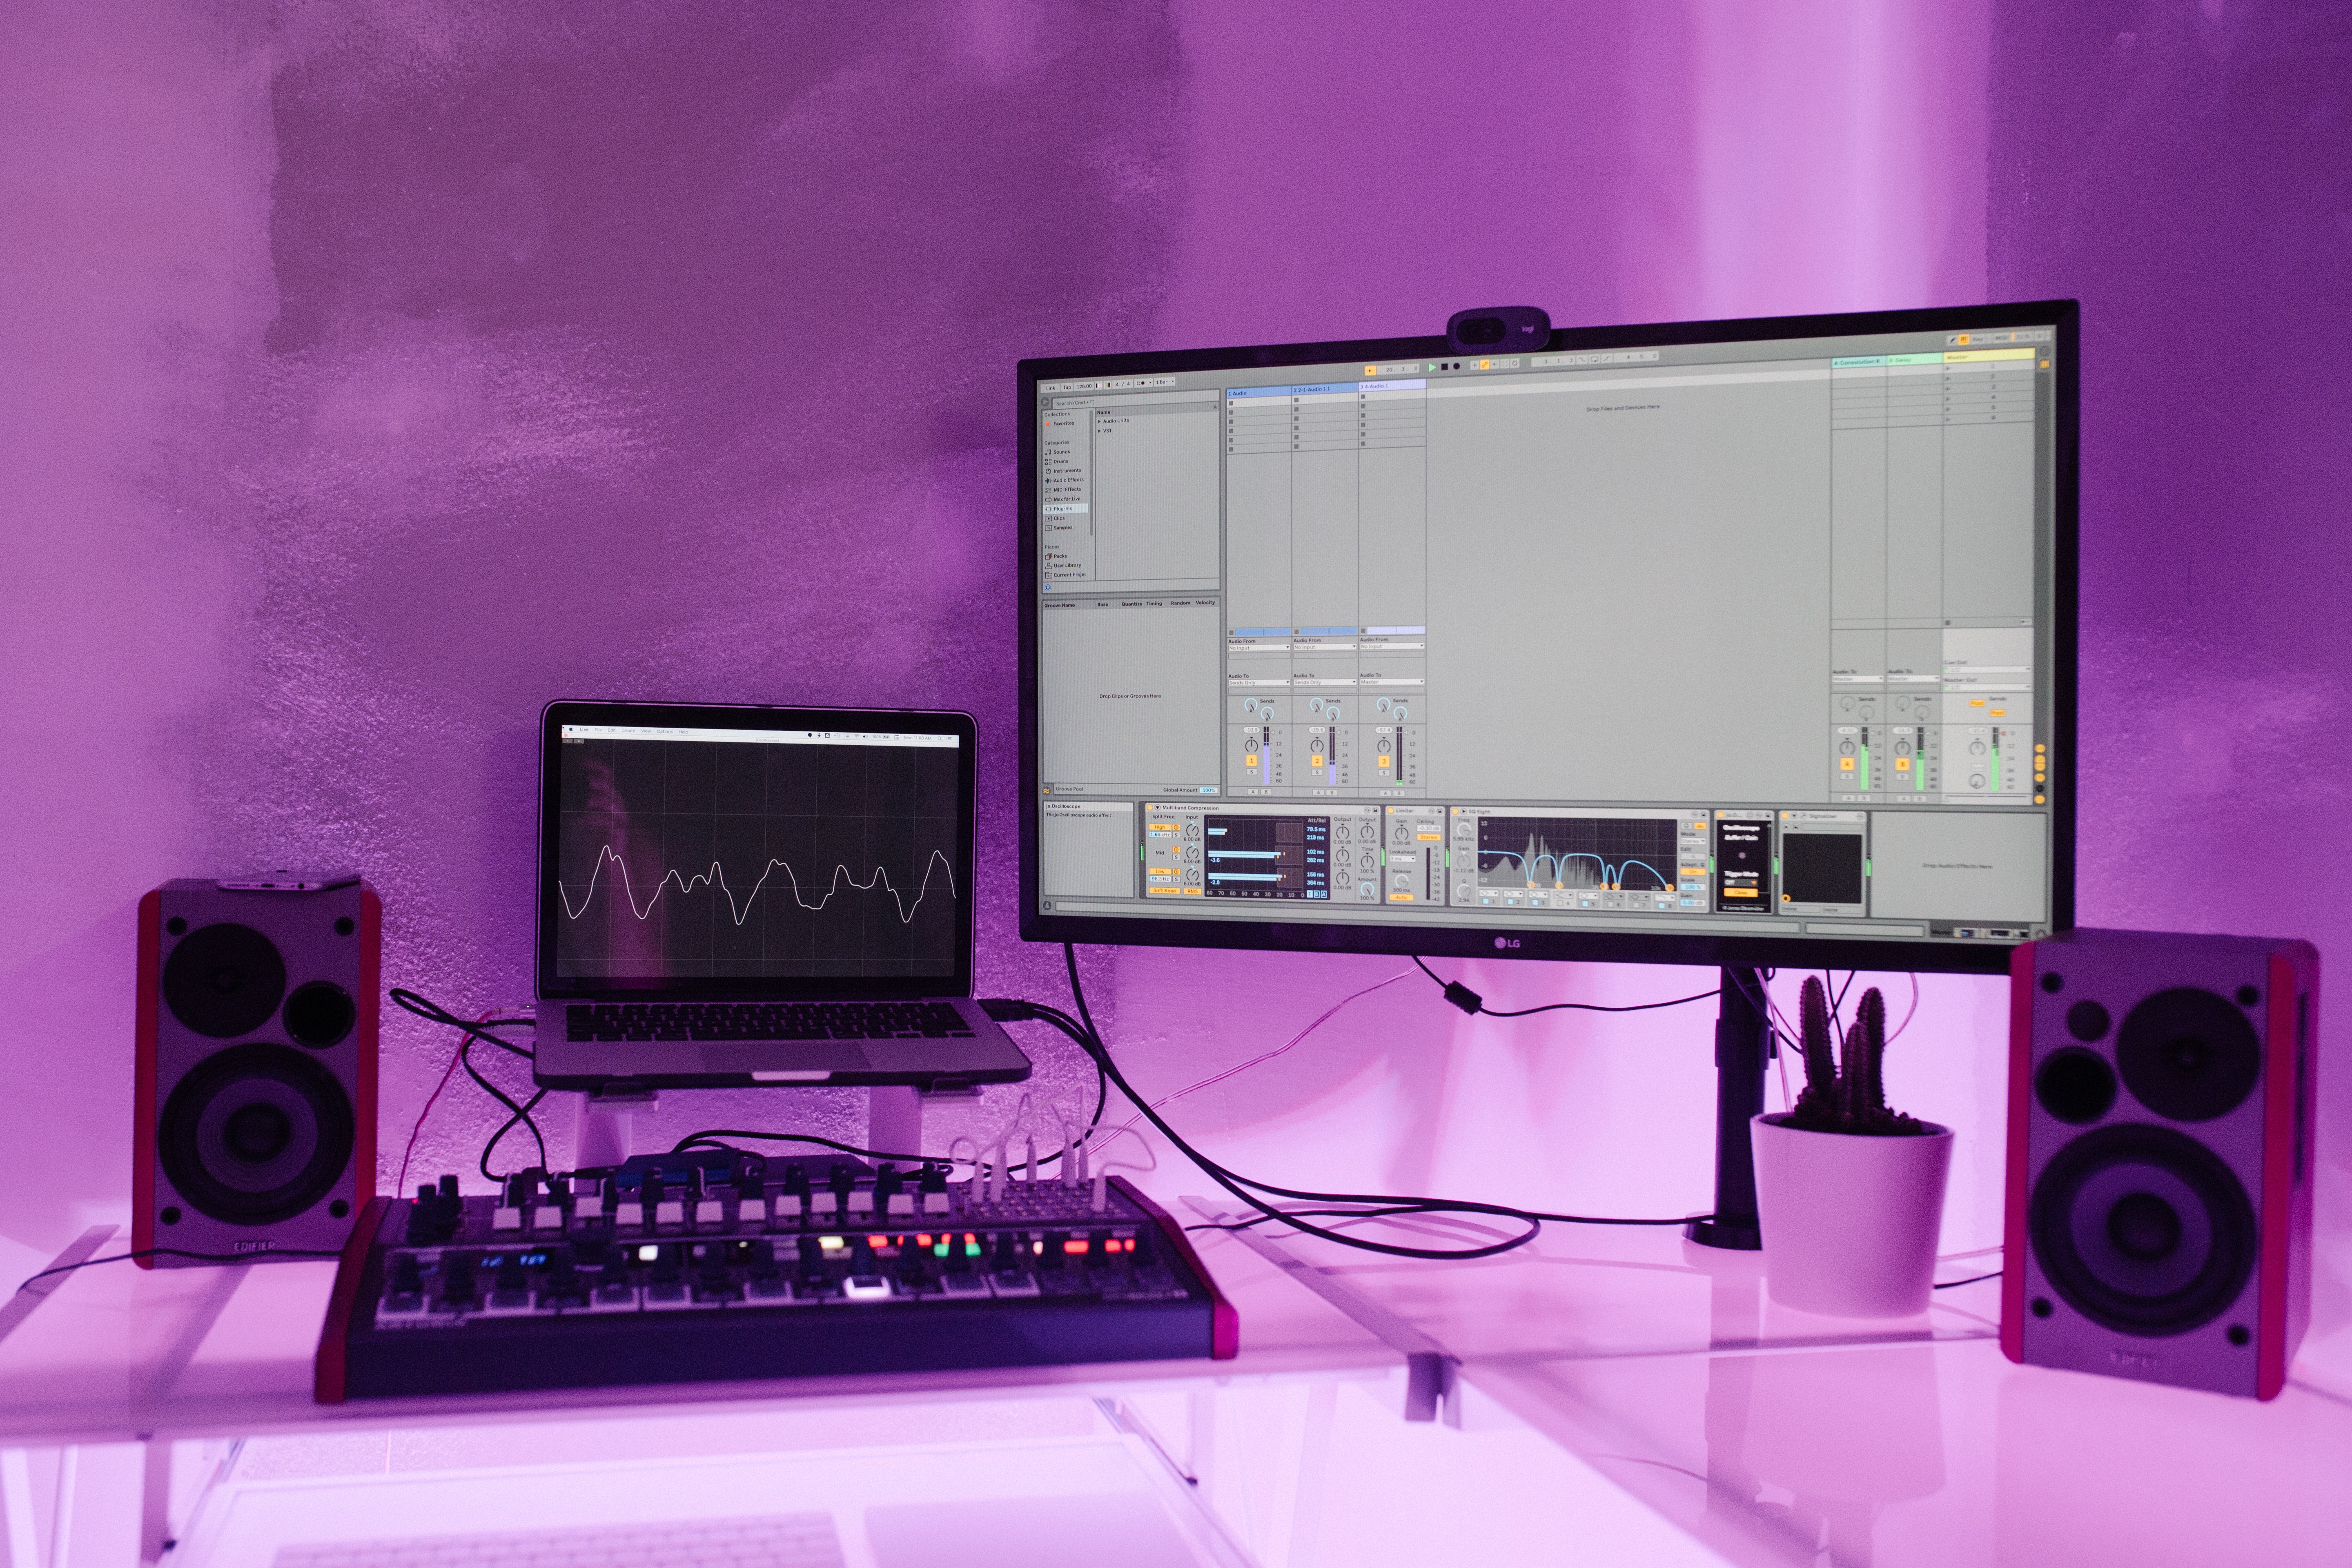
To use analog gear with Ableton Live, you'll need the following items: An audio interface with at least one additional input and output, in addition to the ones used for your studio monitors, that can process the analog signal from your gear.
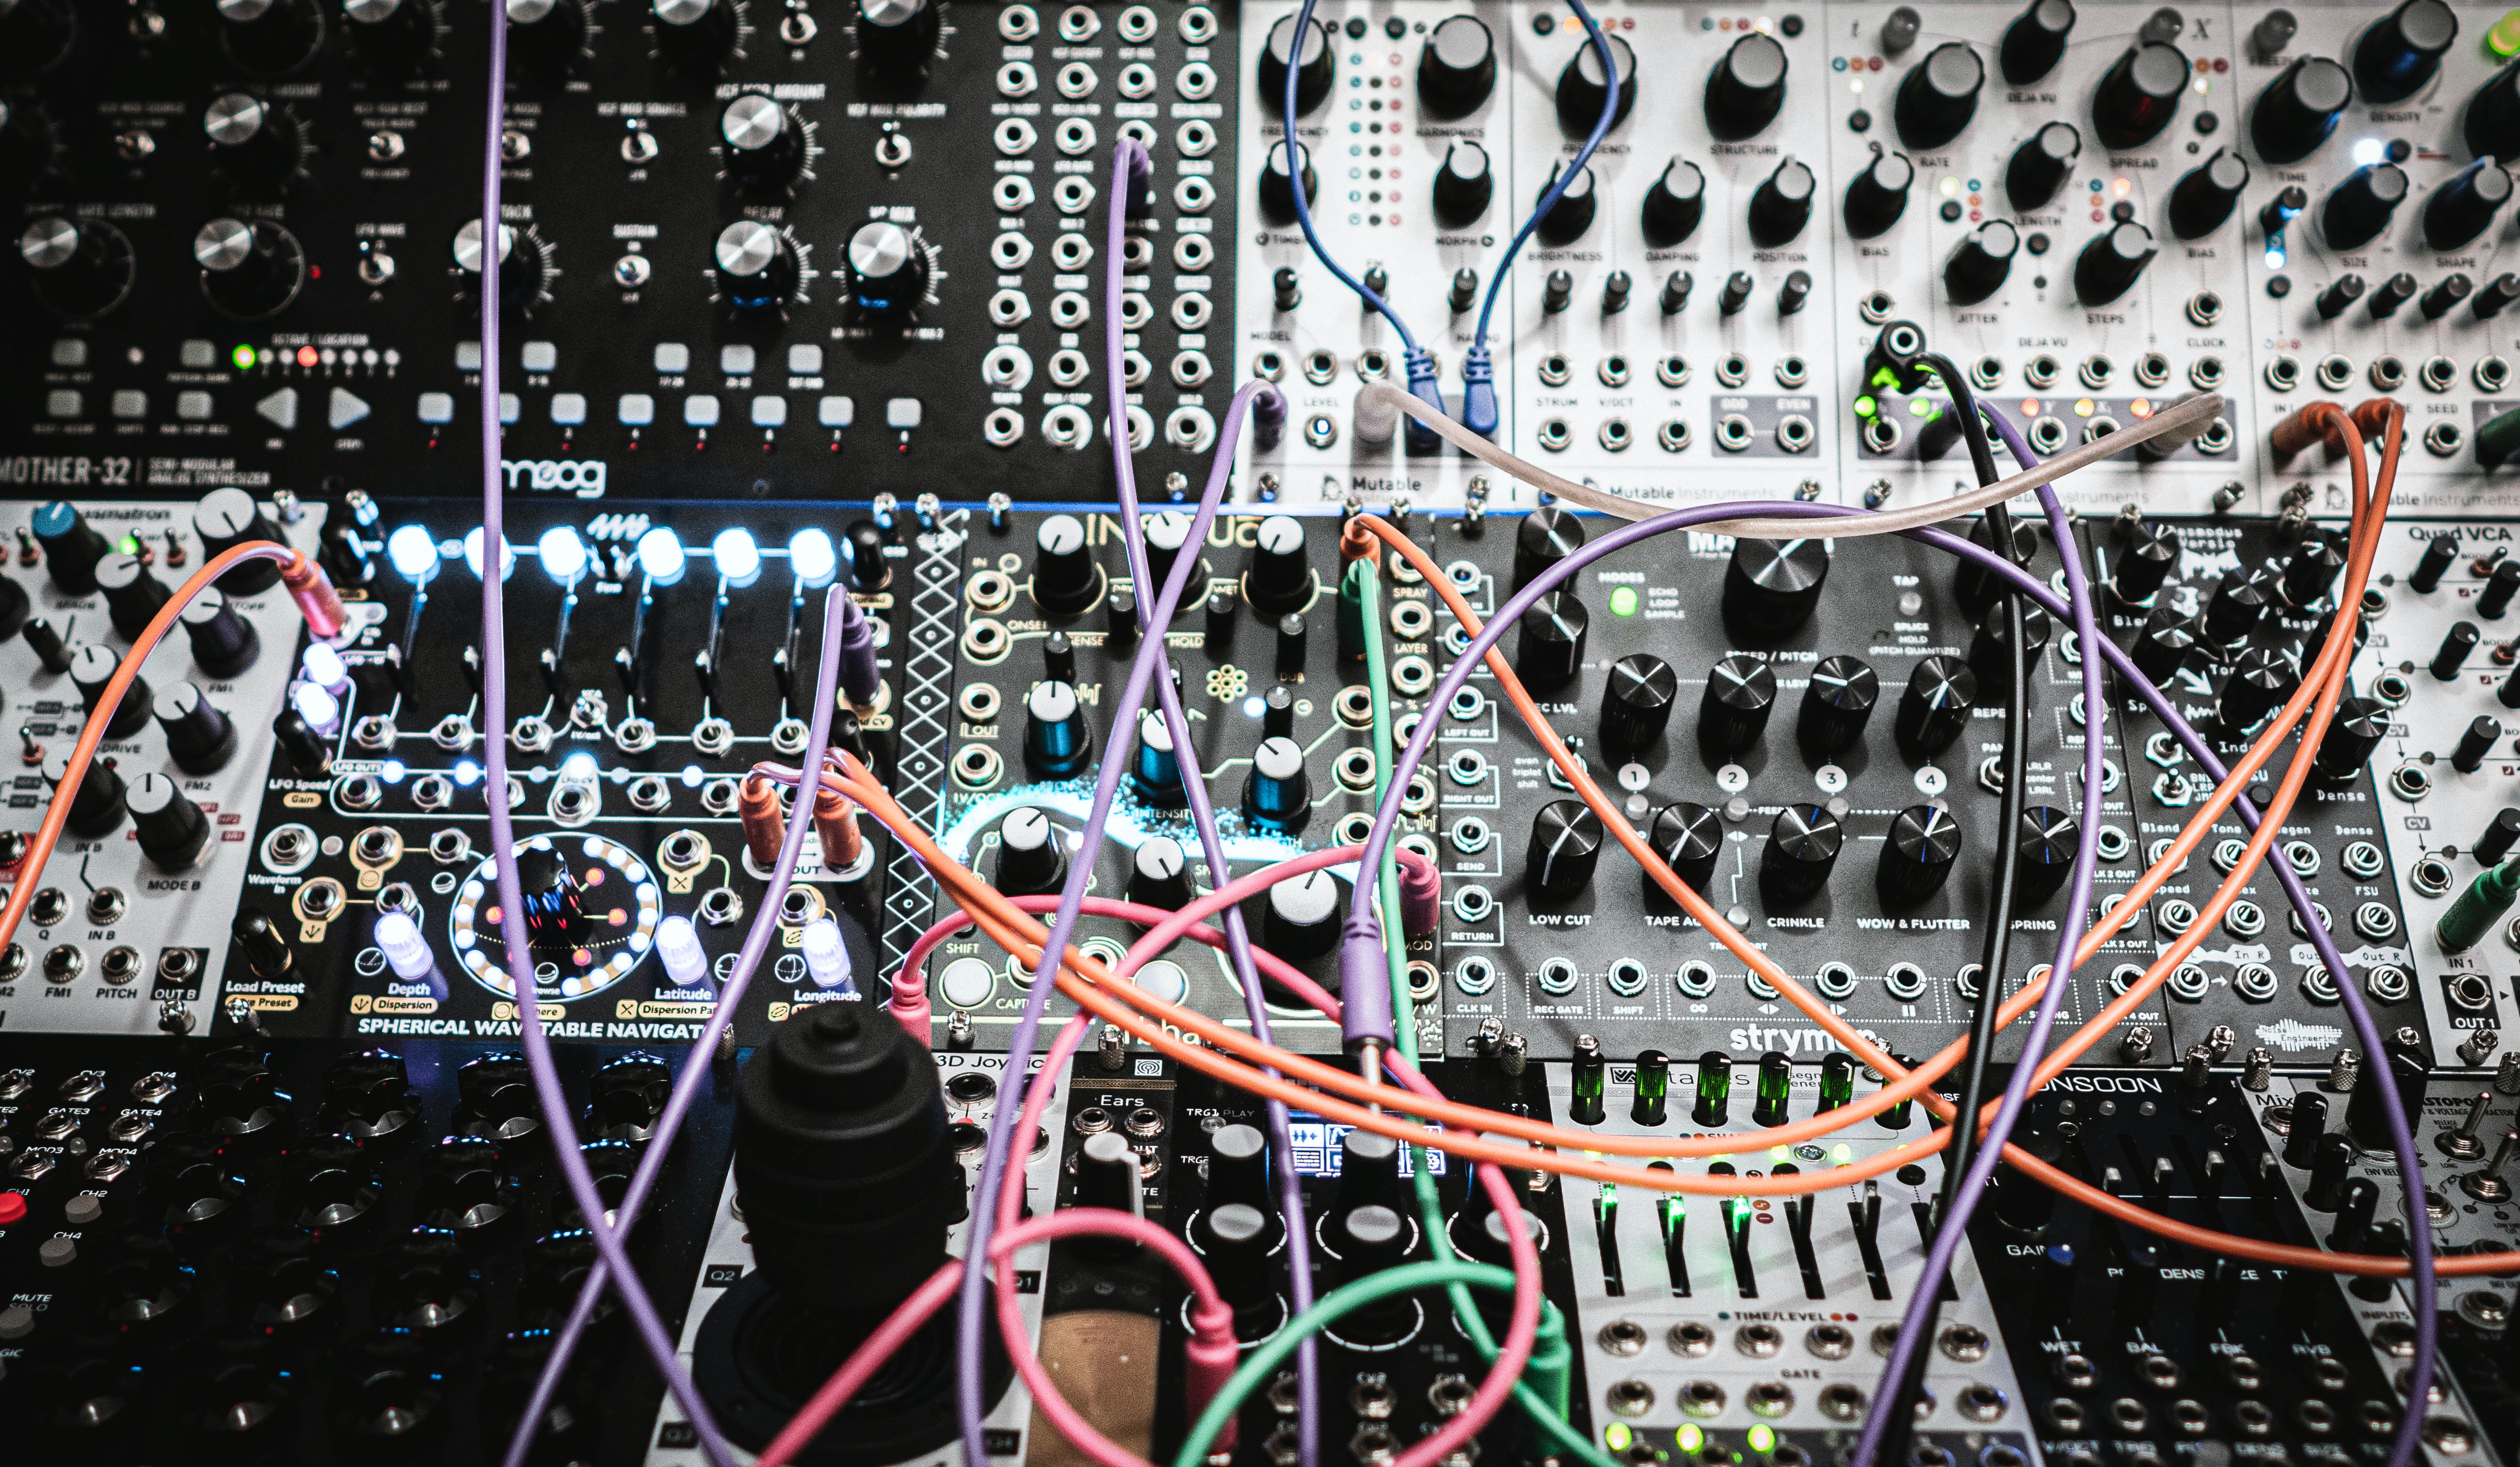
An analog device, such as a synthesizer or drum machine. A cable to connect your analog device to the audio interface. By having these components in place, you'll be able to integrate your analog gear into your digital workflow with Ableton Live.
Connecting an External Synthesizer with Ableton
Step 1: Connect your MIDI
Connect the MIDI out port of your MIDI interface to the MIDI in port on your analog device using a MIDI cable.
Step 2: Connect your Audio
Connect the audio out port of your analog device to an input on your audio interface using an audio cable (or a stereo pair of cables if you're working with stereo sound).
Step 3: Check for USB Connectivity
If your analog device supports MIDI or Audio over USB, you can connect it to your computer using a USB cable. In this case, you'll need to install the necessary drivers, which can be downloaded from the manufacturer's website.
Once you have the drivers installed, you can start using your analog device with Ableton Live, eliminating the need for an audio interface and cables. This can be a convenient and streamlined option for those who prefer a minimalist setup.
With these connections in place, you're ready to start integrating your analog gear with Ableton Live.
Step 4: Configure Ableton Live's Audio Preferences
Now that your hardware is connected, it's time to configure Ableton Live's audio preferences:
- Open Ableton Live's Preferences → Audio.
- Click "Input Config."
- Enable and name the inputs that are connected to your analog device.
- If you're using a device that supports audio over USB, select that device as the audio interface.
With these settings in place, Ableton Live is now able to receive audio from your analog device.
Step 5: Configure Ableton Live's MIDI Preferences
Now it's time to configure Ableton Live's MIDI preferences:
- Open Ableton Live's Preferences → Link/MIDI.
- Enable the "Track" switch for the corresponding Output MIDI port to send both MIDI note and MIDI CC data.
- To sync an external device with a built-in sequencer, LFO, or effects, activate the "Sync" button for the corresponding Output MIDI port.
- Leave the "Remote" button disabled for the Output MIDI port.
Note: For a more detailed explanation of these functions, please refer to Ableton Live's MIDI Ports documentation.
With these settings in place, Ableton Live is now able to send MIDI data to your analog device and receive MIDI data from it, allowing you to control and sync your external device with the software.
Step 6: Use the External Instrument Device (recommended)
The External Instrument device is the most convenient way to use hardware in Ableton Live. It allows you to play and control your external gear just like you would with any software instrument or plugin.
Note: The External Instrument device is only available in Ableton Live Suite or Standard. If you're using Ableton Live Intro or Lite, please see step 7 instead.
Here's how to use the External Instrument device:
- Open Ableton Live and create a new MIDI track.
- From the "Devices" menu, select "Create" then "Instrument" and then "External Instrument."
- Choose the MIDI output port, channel, and audio input port(s) that are connected to your hardware.
- If the audio sounds out of sync, adjust the Hardware Latency slider.
Step 7: If you don't have the External Instrument device (Optional)
An optional method for those who do not have access to the External Instrument device or prefer to use a pair of MIDI and audio tracks to control their external hardware, the following steps can be followed:
- Create a MIDI track in Ableton Live by clicking on the "Create MIDI Track" button.
- In the IO section of the MIDI track, select the appropriate MIDI output port that is connected to your hardware.
- Create an audio track in Ableton Live.
- In the IO section of the audio track, select "Ext. In" and the corresponding audio input port.
- Switch the monitor to "In".
- Ensure "Reduced Latency When Monitoring" is active in options menu.
- If out of sync, adjust the track delay on the MIDI track.
Step 7: Capturing the Sound from Your Hardware into Ableton Live
There are several methods for recording the sound produced by your hardware in Ableton Live. Let's take a closer look:
Method 1 (Highly Recommended) - Directly Record to Another Audio Track:
Create a blank audio track. Set "Audio From" to receive sound directly from the External Instrument or Audio Effect track. Choose between "Pre FX," "Post FX," or "Post Mixer." For best results, choose "Pre FX". Turn off monitor, arm the track, and start recording.

Method 2 - Render the Individual Track
Select the track monitoring your hardware, choose "Export Audio/Video" from File menu (Shift + CTRL/CMD + R). Render in real time and drag exported audio back into Ableton Live.

Method 3 - Freeze and Flatten the Track
Right-click the track and choose "Freeze and Flatten." Make a duplicate before doing this if you want to keep MIDI and devices.
Method 4 - Export the Entire Set
Choose "Export Audio/Video" and export the Master track. Note: you’ll have to re-record the set if you make mix or arrangement changes.
You are now ready to have fun with your analog synthesizer and Ableton :D
Using External Audio Effects with Ableton Live
Step 1: Essential Equipment
For optimal results, an audio interface with at least two stereo outputs and one stereo input is required. You can still make it work with one stereo output and a mono input, but the effects will be in mono.
Step 2: Connections
Connect the audio output from your interface to the input on the external effect device. Then connect the audio out of the effect device to the audio interface input.
Step 3: Using the External Audio Effect (Recommended)
The External Audio Effect can be used as an insert effect or on a return channel.
This device is only available in Ableton Live Standard or Suite. To use this, select the output(s) on your audio interface that is connected to the input of the external effect as the "Audio To".
Similarly, select the input(s) on the audio interface that is connected to the output of the external effect as the "Audio From".
Use the Hardware Latency slider to adjust for any latency, and consult the manual for more information. You may also need to configure the routing in the audio interface's control panel, depending on your audio interface.
Step 4: Using a Return Channel and Audio Track
You can also use external effects with a combination of a return channel and an audio track.
To do this, create a blank return channel and set the Audio To to the same output(s) on your audio interface that is connected to the input of the external effect. Then create a blank audio track and set the Audio From to the same input(s) that is connected to the audio output of your external effect.
Set the monitor to "In" and make sure that the send is disabled to ensure correct latency compensation.
Use the relevant send dial to send audio to the return channel and adjust the level of the audio track monitoring the effected signal to balance the wet audio. To compensate for any latency, adjust the track delay on the monitoring track.
Step 5: Recording Audio from External Audio Effects
The audio signals are routed through external effects in real time, so the "effected" audio signal is not recorded until the audio is exported as a real-time render.
To ensure consistent playback, you may want to record the post-effects audio signal onto a separate track. Refer to the manual's section on Post-Effects Recording for more details.
Integrating external audio effects with Ableton Live is a straightforward process that can significantly enhance the sound quality of your tracks. With the steps outlined above, you can easily route audio signals through external effects in real-time and record the post-effects audio signal for consistent playback.

Tips and Tricks
Employ the Use of Analog Summing for a More Analog Sound
Analog summing is a technique that involves blending multiple digital tracks into a single analog signal, which results in a warmer and more cohesive sound.
This can be achieved using an analog summing mixer or a plugin like Dangerous 2-Bus.
By using analog summing, you can add a touch of analog warmth to your digital productions and enhance the overall sound quality.
Use Analog Gear as a Parallel Processor
Parallel processing is a technique where a sound is processed both digitally and through analog gear to add character and warmth.
For example, you can shape the sound with a digital plugin and then use an analog compressor to add warmth and character.
By using analog gear in this way, you can add an extra layer of analog warmth to your digital productions.
Run Your Tracks Through Analog Gear Before Recording
Another way to incorporate analog gear into your Ableton Live setup is to record your tracks through analog gear.
This can add warmth and character to your recordings, giving your tracks a more analog sound. You can use analog gear such as preamps, equalizers, and compressors to shape your sound before recording.

What Are the Benefits of Using Analog Gear with Ableton Live?
- Analog warmth: Analog gear can add warmth and character to digital productions, resulting in a warmer and more cohesive sound.
- Improved cohesiveness: Analog summing can help mix multiple digital tracks into a single analog signal, leading to a more cohesive sound.
- Increased creativity: By incorporating analog gear into your Ableton Live setup, you can add an extra layer of sound shaping options, allowing for increased creative control over your productions.
- Enhanced character: Analog gear can impart its own unique character onto recordings, adding depth and dimension to digital productions.
- Improved dynamics: Analog gear, such as compressors, can help shape the dynamic range of recordings, leading to a more natural sound.
By using analog gear in conjunction with Ableton Live, you can take advantage of the strengths of both digital and analog technologies to create rich and dynamic productions.
Recommended Gear to Start With on a Limited Budget
Some good options for affordable analog synthesizers include:
- Korg Volca Series: Includes Volca Bass, Volca Keys, and Volca FM – portable and powerful tools for analog warmth and character.
- Behringer Model D: A budget-friendly Minimoog Model D clone with authentic analog sound.
- MeeBlip Anode: A digital-analog hybrid synth that's simple, portable, and versatile.
Analog sound effects devices that can be used with Ableton Live:
- Electro-Harmonix Small Stone: A classic phaser pedal with a warm, vintage tone.
- MXR Carbon Copy: An analog delay pedal known for depth and character.
- Boss BD-2 Blues Driver: An overdrive pedal that adds harmonic distortion and warmth.
Affordable and effective analog compressors and EQs that can be used with Ableton Live:
- ART Pro VLA II: A budget-friendly compressor with optical warmth and versatility.
- Warm Audio WA-2A: A faithful LA-2A reproduction for vintage compression vibes.
- Behringer EQ700: A 7-band EQ pedal for tone shaping and signal clarity.
These tools are affordable, portable, and capable of adding character, warmth, and richness to your productions. They're perfect for beginners and budget-conscious producers looking to integrate analog gear into their Ableton Live workflow.
Conclusion
Bringing the warmth and character of analog gear to your Ableton Live setup can take your music production to new heights.
With the right setup and knowledge, you can seamlessly blend the analog and digital worlds, resulting in a sound that is truly your own.
So, why not shake things up and add some vintage vibe to your music?
Experiment with different analog gear and see how it can bring a unique touch to your tracks. The possibilities are endless, and the only limit is your imagination. Get ready to create music that will stand out and leave a lasting impression on your listeners.
Routing Recap
Ableton Live handles hybrid setups gracefully once the audio routing is mapped: External Audio Effect on the chain, hardware on a return track for parallel color, and latency compensated automatically. Few digital audio workstation workflows make analog gear feel this native.
Related Articles
- How To Use Analog Gear With Logic Pro
- How to master for Spotify? - LUFS and more
- The Art of Mixing and Mastering: A Guide to Professional Audio Production
- How to stay motivated as a music producer?
- Top 3 Mixing Mistakes
- #1 Cheap Mixing and Mastering Services for $150
- How to use Reverb on vocals? Tips and Tricks
- What is Auto-Tune?